


Choosing Natural Stone for Your Path
Natural stone gives a garden path a timeless, sturdy character that no moulded concrete can match. Its subtle variations in colour and texture help the path feel at home amongst planting and lawn. Yorkstone offers a warm, riven surface that grips well underfoot. Sandstone is softer and easier to cut, ideal for curved routes. Slate brings a cool, smooth finish, whilst limestone provides a pale, consistent look.
A footpath can use stone around 20–30mm thick, but if you plan to wheel a barrow or park a car, choose 40mm or more. Reclaimed stone can look wonderful, but check for cracks and uneven backs. Avoid mixing thicknesses within a single run unless you are prepared to adjust the base constantly.
Preparing a Firm, Well-Drained Base
The secret to a wobble-free path lies under the surface. Excavate to about 150mm for pedestrian use, or 200mm if vehicles will cross. Fill with MOT Type 1 sub-base, a crushed stone that compacts into a solid, free-draining layer. Spread it in two layers of 50–75mm, watering lightly and compacting each with a plate compactor or heavy roller. Your finished sub-base should be level side to side but already following the gentle fall you want.
On top, add a 30–40mm bedding layer of sharp sand mixed with cement in a 4:1 ratio, or a dry lean mix. This bedding lets you fine-tune each stone without fighting the hardcore below. For heavy clay soils, consider a geotextile membrane under the sub-base to stop mud pumping up.
- Remove all soft spots and roots before compacting.
- Keep the sub-base 10mm below your final stone level.
- Compact edges thoroughly, as they take the most load.
A firm base also means you can walk on the path within hours of laying.
Setting the Falls for Drainage
Water is the enemy of any garden path. If it pools on the surface, it will work into the joints, loosen the bedding and encourage moss and algae. Set a gentle fall of 1:60 to 1:80 — roughly 15mm of drop per metre. This is subtle enough to walk on comfortably but enough to shed rain. The fall should run away from your house, garage or any other building, and towards a lawn, border or drainage channel.
Check your fall with a spirit level and straight edge every couple of metres. Do not rely on eye alone. If the path runs across a slope, you may need a slight crossfall, but keep it consistent so puddles cannot form. Where the path meets a patio or driveway, ensure the transition does not create a lip that traps water. A small gravel-filled trench at the lowest point can act as a soakaway if the ground is free-draining.
Spacing Joints Correctly
Joint width matters more than many people realise. Aim for 10–15mm between stones. Narrower joints — under 8mm — leave almost no room for pointing mortar, which then crumbles and lets water in. Wider joints — over 20mm — look coarse and can become seedbeds for weeds. Use plastic spacers or offcuts of wood to keep gaps even as you lay.
For a natural, rustic feel, you can vary the joint width slightly, but keep the average consistent. If you lay irregular stone, such as tumbled sandstone, you may need to cut some pieces to avoid huge gaps. A diamond blade in an angle grinder makes short work of trimming, but always wear eye and ear protection. Remember that joints allow the path to move slightly with temperature changes without cracking the stones.
Laying the Stones and Pointing
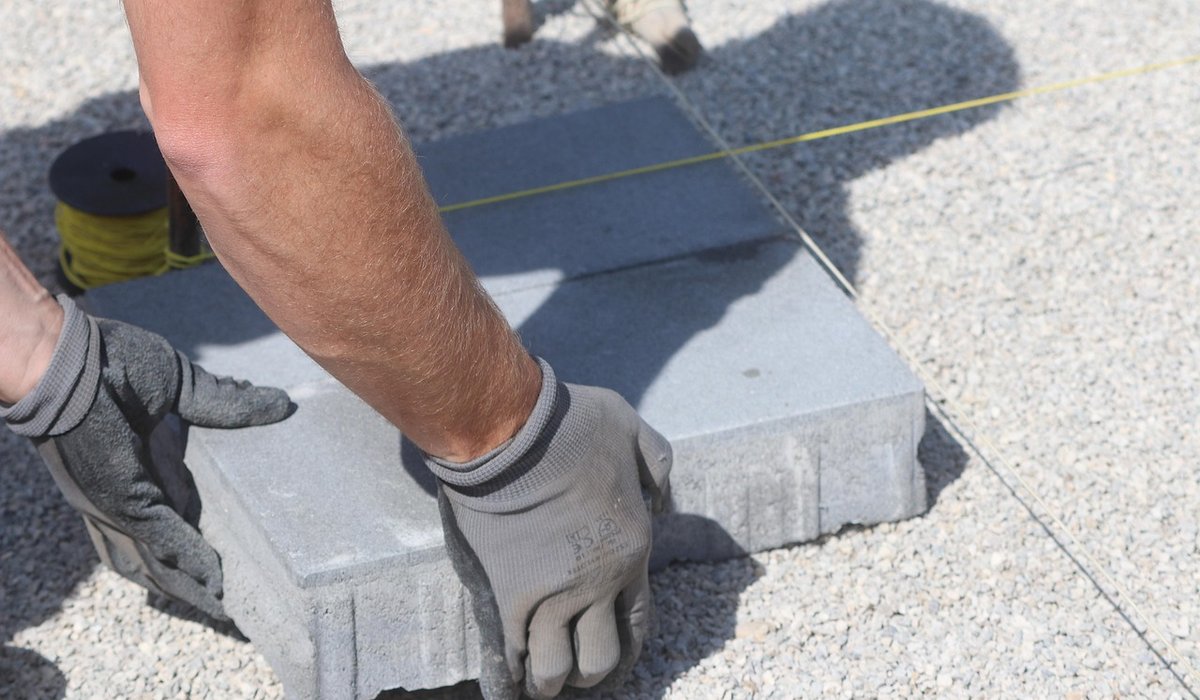
Start at a fixed edge — a wall, a step or a straight timber batten — and work away from it. Place each stone onto the bedding, then tap it down with a rubber mallet until it sits flush with its neighbours and follows your fall. Check frequently with a spirit level across the joints and along the path. If a stone rocks, lift it and add or remove a little bedding. Never force it down by hitting harder; that breaks the bond.
Once all stones are laid, leave the bedding to set for at least 24 hours before pointing. Mix a slightly damp mortar of 4 parts sharp sand to 1 part cement, plus a plasticiser. Work it into the joints with a pointing trowel or mortar gun, then finish with a finger or jointing tool to create a slight concave profile. This shape sheds water rather than holding it. Brush off excess mortar before it dries.
- Do not point in frosty or very wet weather.
- Keep mortar off the stone faces, as it can stain.
- Mist the finished joints gently for two days to cure them slowly.
Aftercare and Winter Care
Keep foot traffic off the path for 24–48 hours, and avoid heavy loads for a week. If you sealed the stone with a breathable sealer, apply it once the mortar is fully cured — usually after a week of dry weather. Sealing resists staining and makes autumn leaf tannins easier to sweep away. In winter, avoid rock salt, which can damage natural stone. Use a plastic shovel and sweep snow instead of chipping at ice.
Check joints each spring. If any mortar has crumbled, rake it out and repoint before water gets a hold. A well-laid path with a firm base, gentle fall and careful joints will give decades of service, looking better as the stone weathers and the garden grows around it.


Leave a reply